

Dale Spoonemore is the visionary co-founder of “From Seed to Spoon,” a groundbreaking platform that has revolutionized the way individuals approach gardening. His journey from a novice gardener to a leading advocate for sustainable living and mental wellness through gardening is a source of inspiration to many. Dale’s personal transformation and dedication to making gardening accessible and enjoyable have propelled “From Seed to Spoon” to become a vital tool for gardeners of all skill levels.
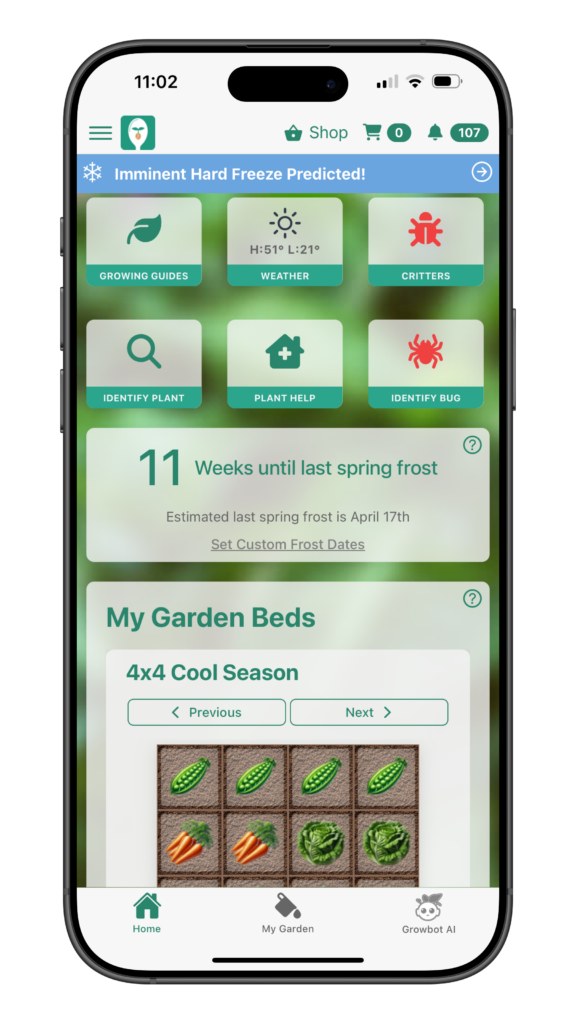
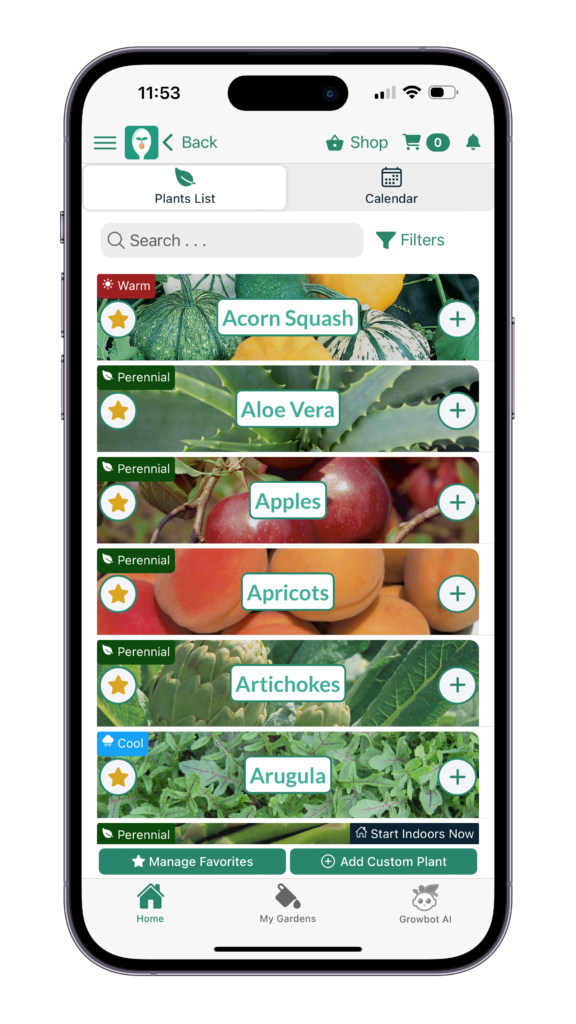
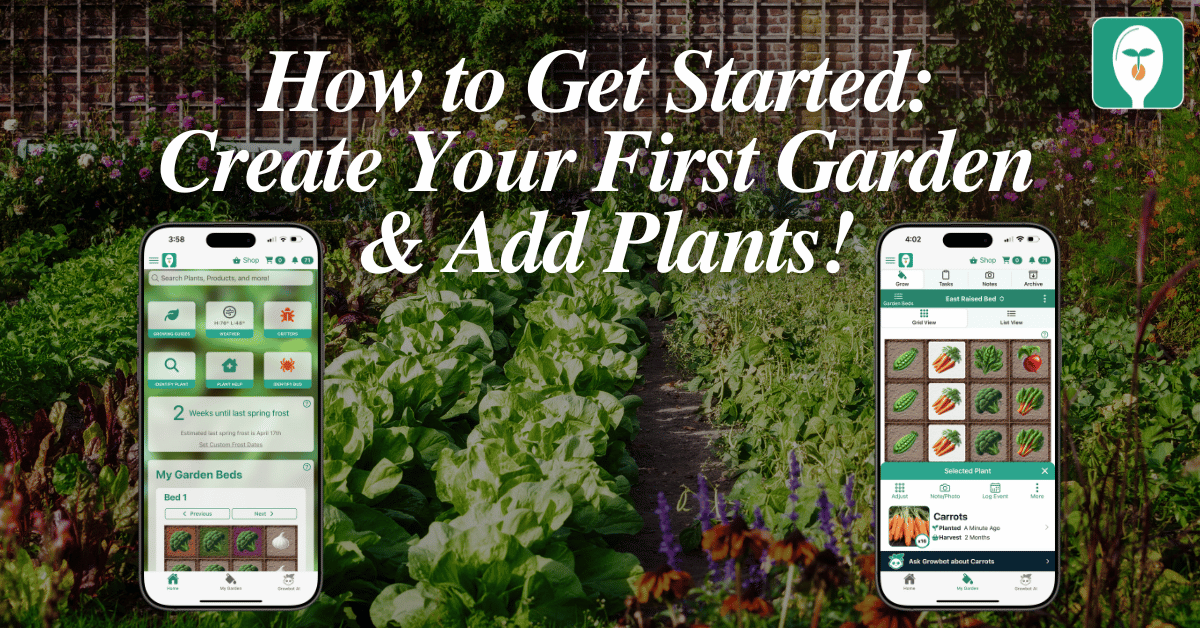
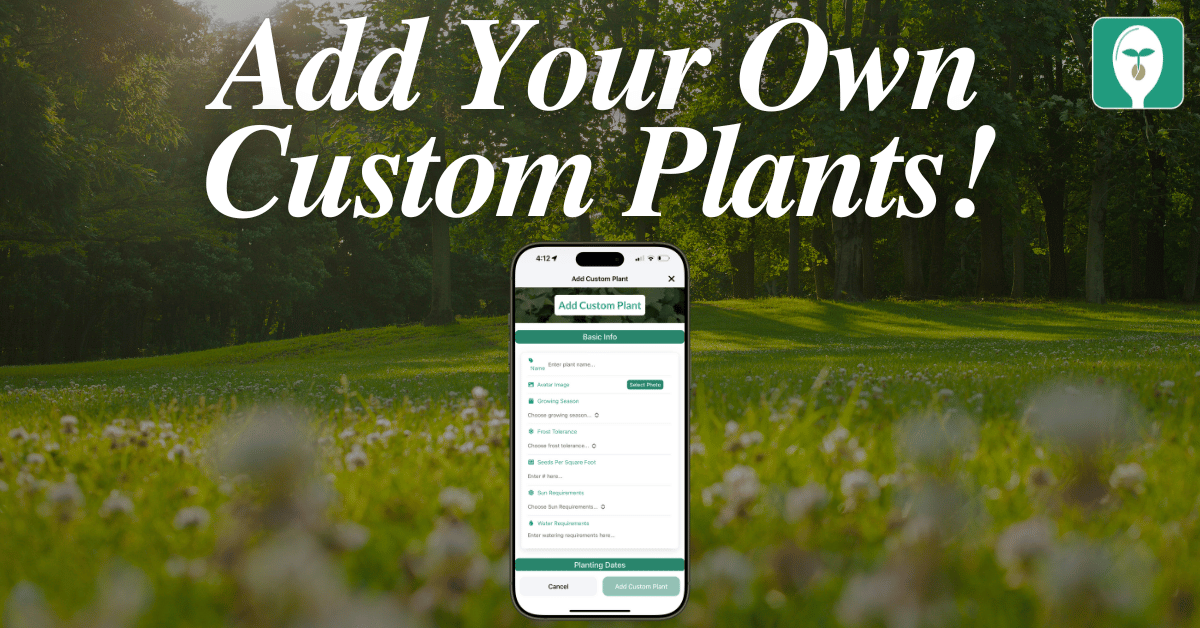
Dale’s venture into gardening began as a personal quest to improve his family’s health and well-being. Faced with the challenges of learning how to garden without prior experience, Dale turned his journey into an opportunity to simplify gardening for others. He leveraged his background in technology to develop the “From Seed to Spoon” app, which guides users through the process of starting their own gardens with ease. The app covers everything from selecting the right plants for your region to tracking your garden’s progress.
Beyond the app, Dale’s contributions to the blog reflect his deep understanding of gardening, his commitment to organic practices, and his belief in the therapeutic benefits of connecting with nature. His posts are rich with practical advice, personal anecdotes, and a clear vision for a healthier world through gardening. Dale often shares innovative gardening techniques, ways to incorporate technology into gardening, and tips for growing a wide variety of plants.
Dale’s passion for gardening is matched by his advocacy for mental health. He openly discusses how gardening has been a crucial part of his own mental health journey, offering a powerful testament to the restorative and calming effects of nurturing plants. Through his work, Dale aims to inspire others to discover gardening as a pathway to physical and mental health, sustainability, and a deeper connection with the environment.
As a key voice on the seedtospoon.net blog, Dale Spoonemore continues to educate, inspire, and empower individuals around the globe to start their own gardening adventures. His story is not just about planting seeds in the ground; it’s about planting seeds of change in communities, encouraging a shift towards more sustainable living practices, and fostering a global movement of wellness through gardening.


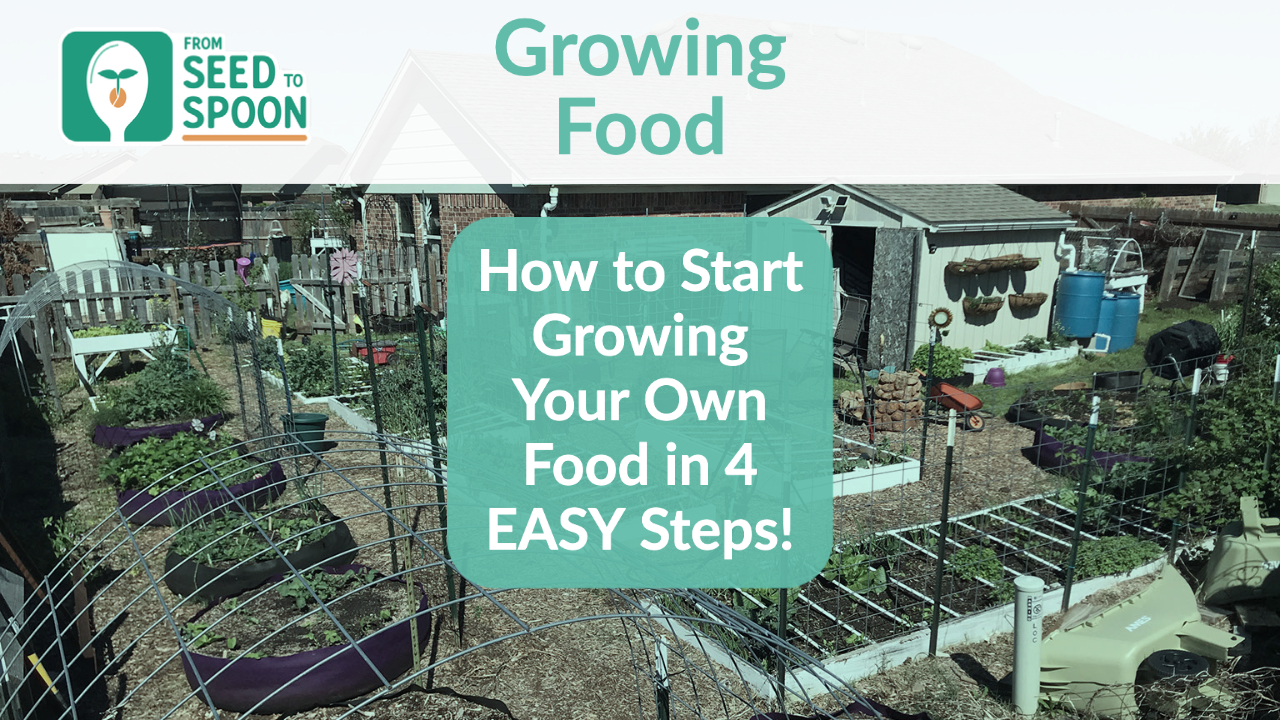
15 thoughts on “How to Start Growing Your Own Food in 4 EASY Steps!”
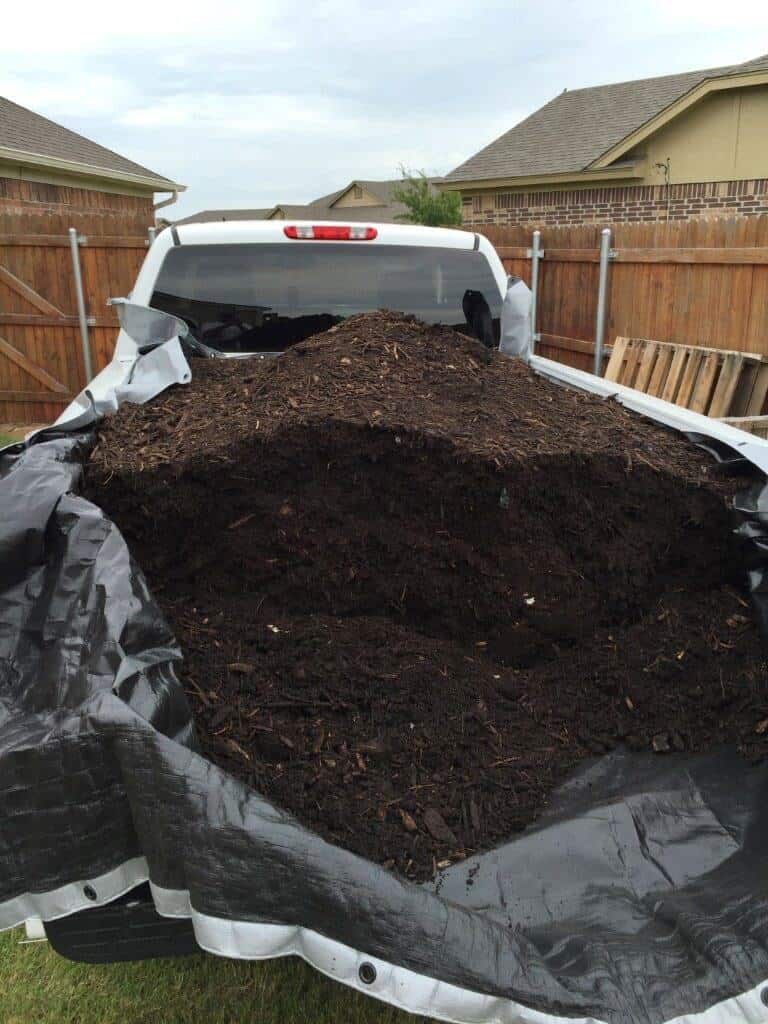
I used to live in Noble. I picked up a load of good black composted soil one year from the Norman composting plant. Looked like black gold. But…
They compost the tree, shrub, and other organic waste from the city of Norman waste pickup.
Including pesticides, petroleum products, insecticides, you name it that people use on their yards, gardens, and splash up from the city streets.
The black, earthy compost I added to my garden plot ensured that NOTHING grew there for two years, including weeds, until I dug it all out and started from scratch. WITHOUT “compost” from the city poison plant.
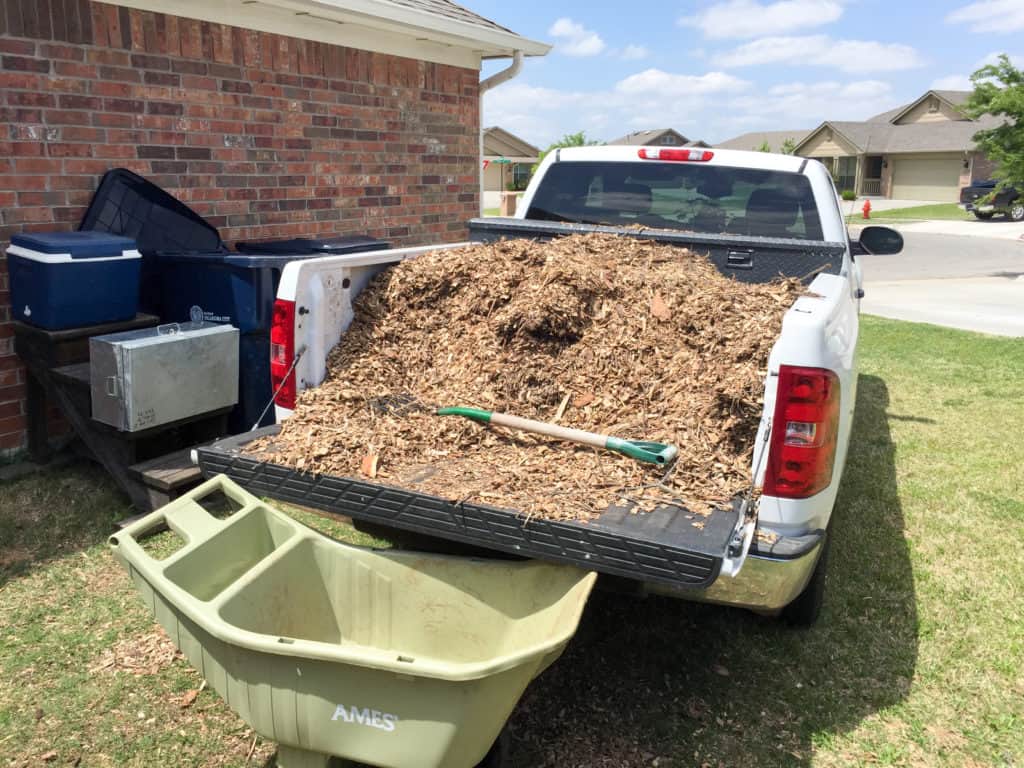
Mulch? Sure. But where did the mulch come from? What chemicals were in it BEFORE it was mulched?
Poor advice to give new gardeners…..
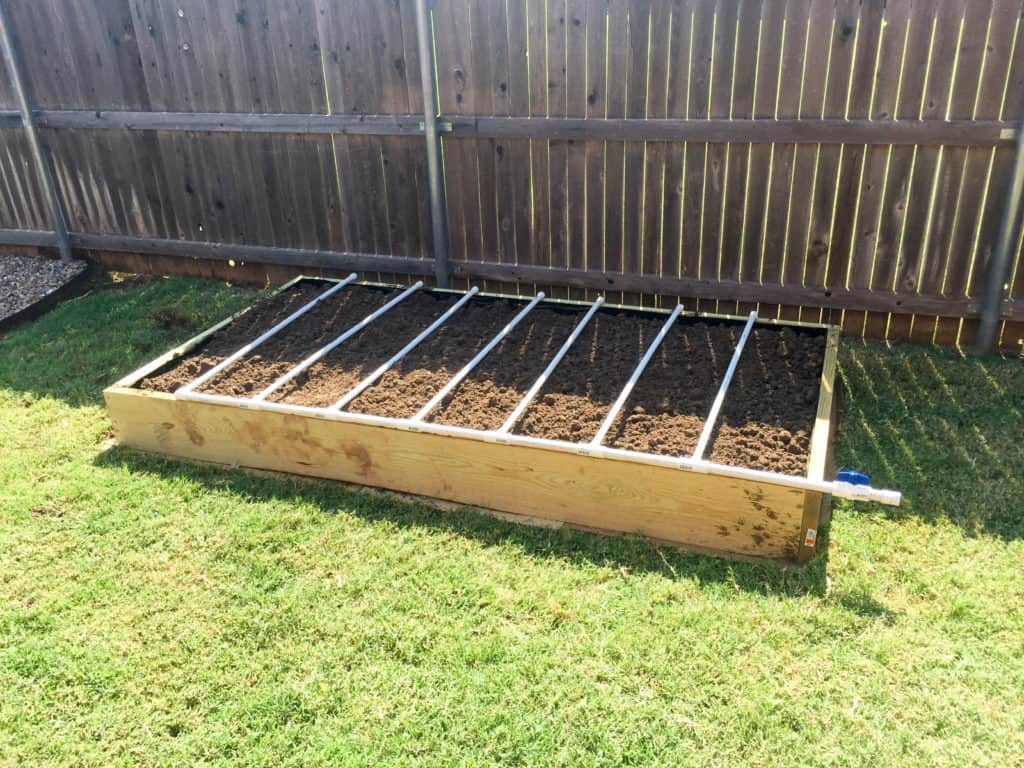
I think you misunderstood. We use these wood chips for our pathways where we used to have Bermuda grass. We don’t use these in our raised beds. Like we said above, we use Mel’s mix for the raised beds. Here’s a blog post that goes into detail about the exact issue you’re describing.
Do you share anywhere why you use raised beds or smart pots rather than simply straight in the ground? Because in town?
Great article!!! I saved it on Pinterest. I have a raised garden, but used cement blocks (ones w/2 holes). I read that these have chemicals that can leak out. Ugh. I have had it for several years, so I guess there is none left??? I read that you can paint them w/?, to protect chemicals from leaking. Does anyone know what to paint them with???? Please email me at kahjax@yahoo.com to reply. It is appreciated. I love this app and emails!!
Hello, I really enjoyed reading your article about how to start growing foods/vegetables, I found it very helpful. Thank you, Richard
Thank you for sharing this. Healthy is very essential nowadays so it’s really important to know this kind of things.