
When I first talked about the idea of using cloth diapers with my daughter, people thought I was crazy. Discussions about how disgusting it is to wash them and how hard it was to work with pins were always brought up. This type of thinking it what made me hold off until she was two months old. After buying yet another diaper rash cream, I decided to take the plunge. The only problem was I had no idea where to start and how to go about using cloth diapers. There were so many online resources, but none of them were easy for me to follow. I wanted to write a brief guide talking about why and how we use cloth diapers.
First off, there are a few misconceptions I discovered right away:
- Nobody uses safety pins anymore. It is a huge safety hazard!! Why would I want to put a needle that close to my baby?!
- Washing diapers were really not as disgusting as everyone thought it was.
Positives:
- Saves money in the long run
- Prevents diaper rashes!!
- Saves environment
- The pocket diapers are extremely easy to use and are adjustable to any size
- Easy to wash
Negatives:
- More steps to put on
- Up-front investment
- More difficult to travel
- Takes up more space in diaper bag
Flat fold diapers
In my first adventure with cloth diapers, I used flat folds with fasteners . Honestly, I felt ridiculous the first time I tried to put it on her! The second I got it put on she peed and it went directly through. Round one was a failure.
Next I researched and found out that a cover was needed! I felt ridiculous, but finally after getting all of the pieces together I found it worked well!
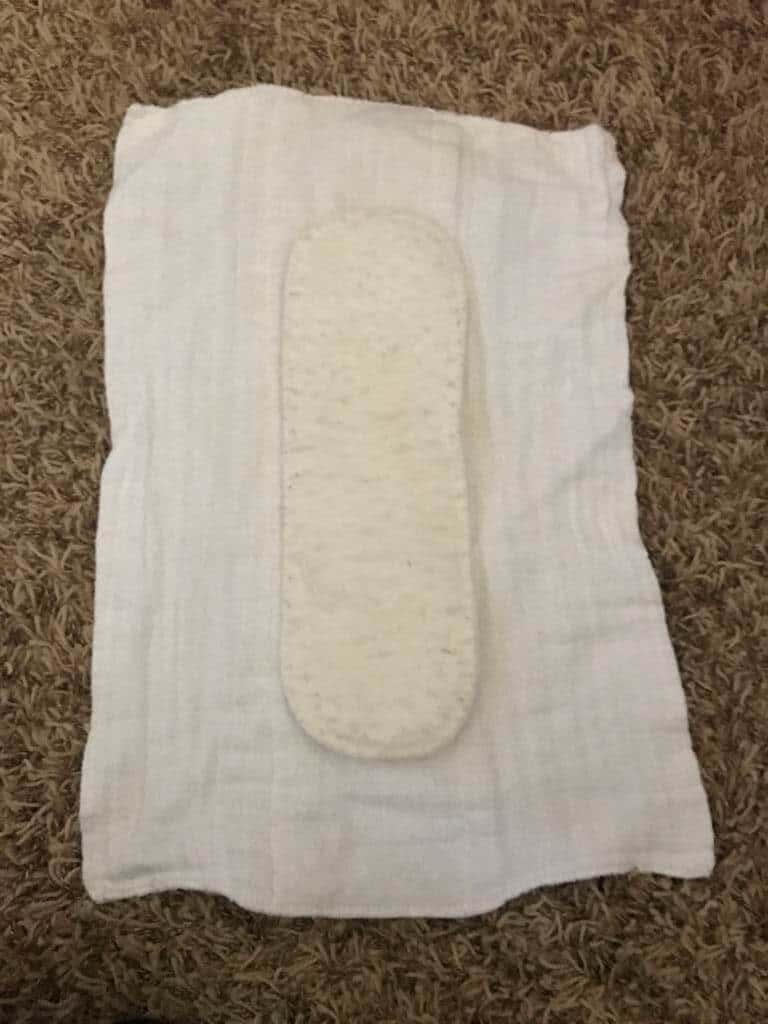
Here’s how I used these diapers:
- Lay diaper out flat. Add pad for extra absorption (optional but recommended)
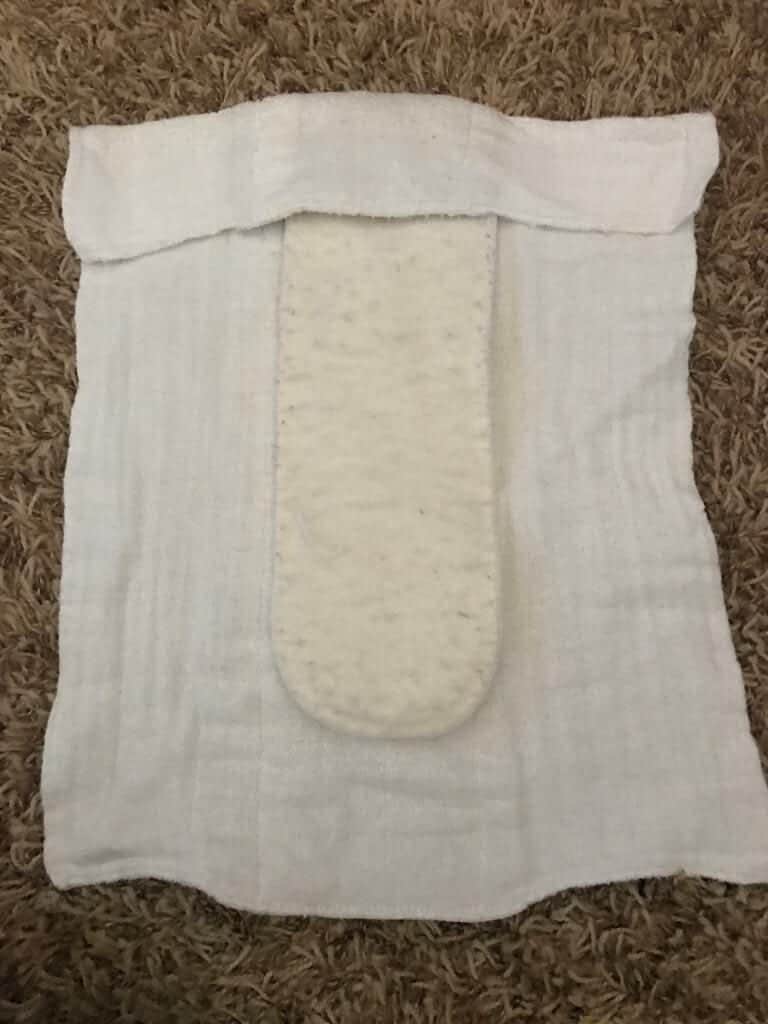
-
Fold top of diaper inward

- Fold sides of diaper inward
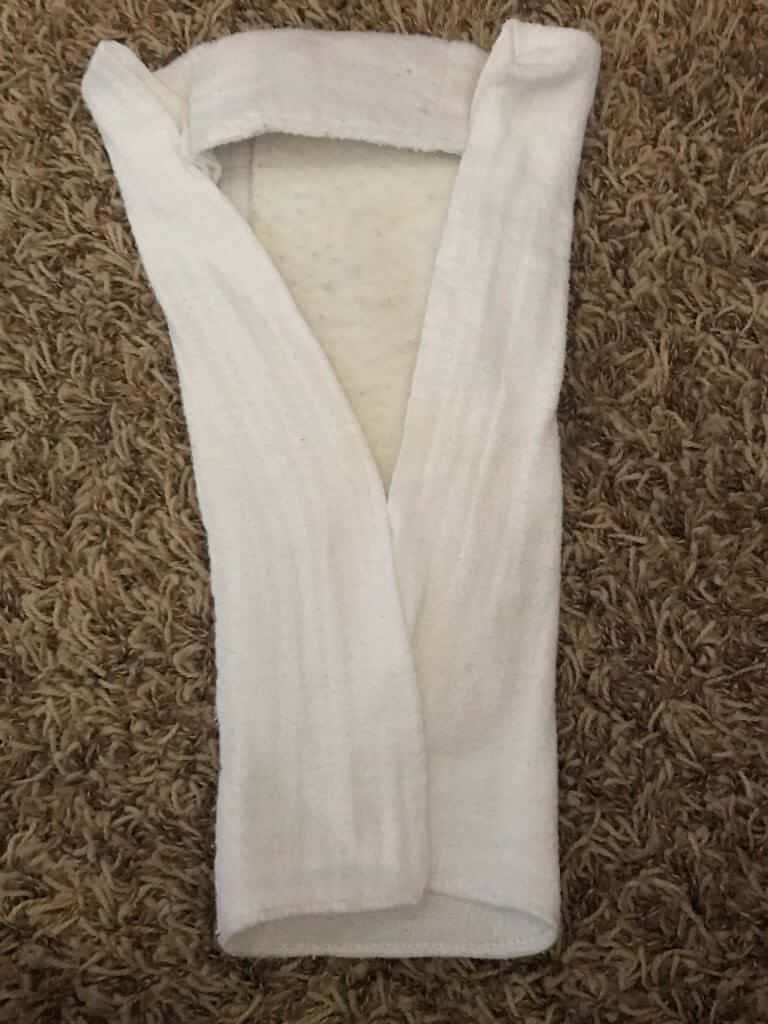
- Wrap diaper around baby and use fastener to attach diaper
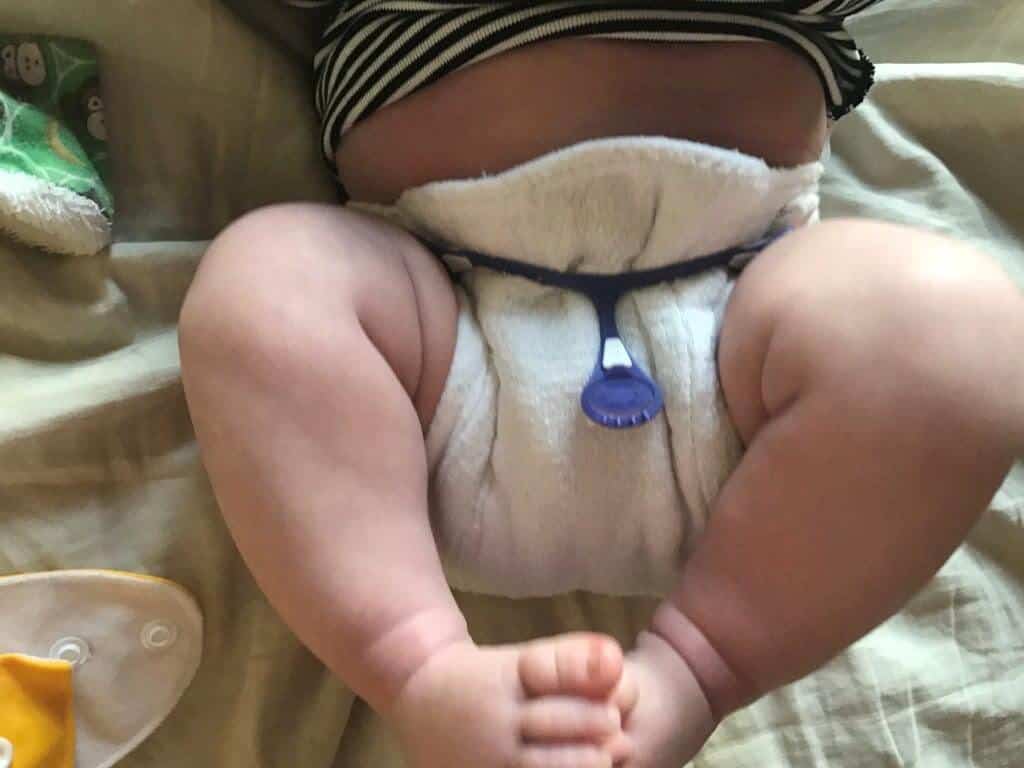
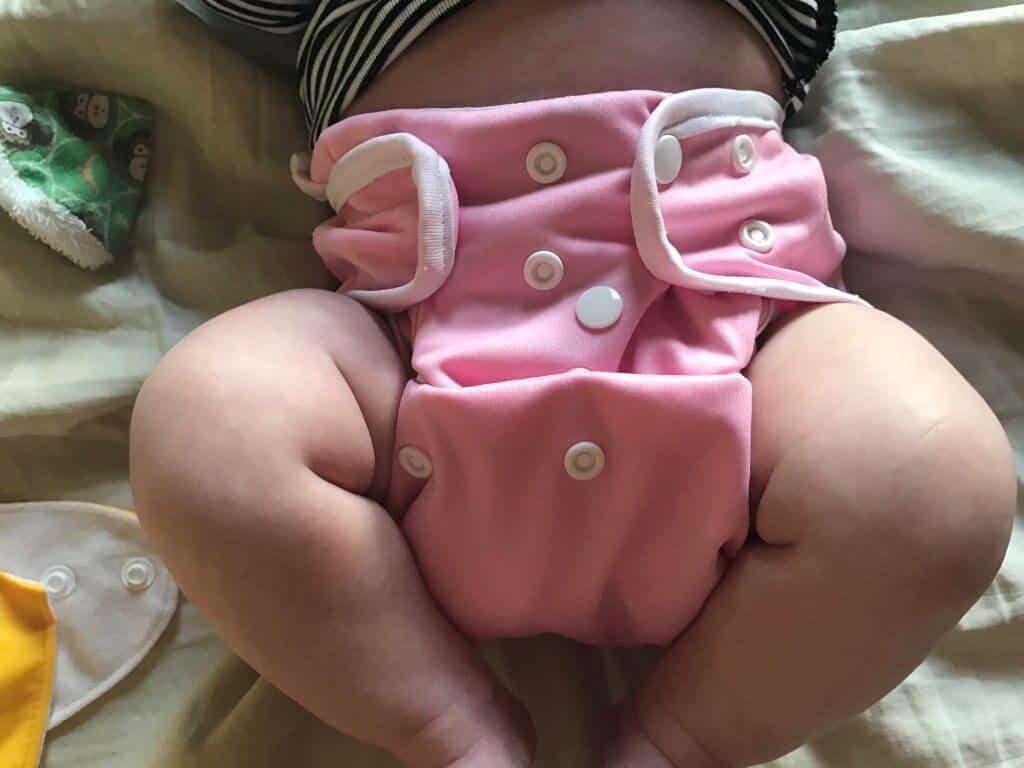
- Add waterproof cover and adjust snaps to size
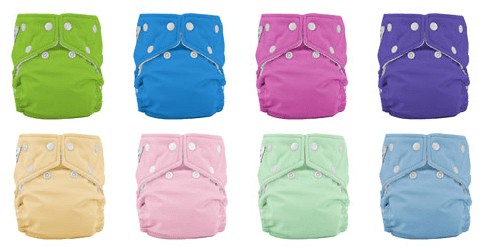
Pocket Diapers
After she grew out of these, I started to search and find out what others did when their babies got bigger. I then discovered the world of pocket diapers. These are a fantastic invention that have been my favorite! This is what I wish I’d have started out with and what I recommend to everyone that’s starting out new.
Step-by-step directions:
- Insert pad into pocket on diaper
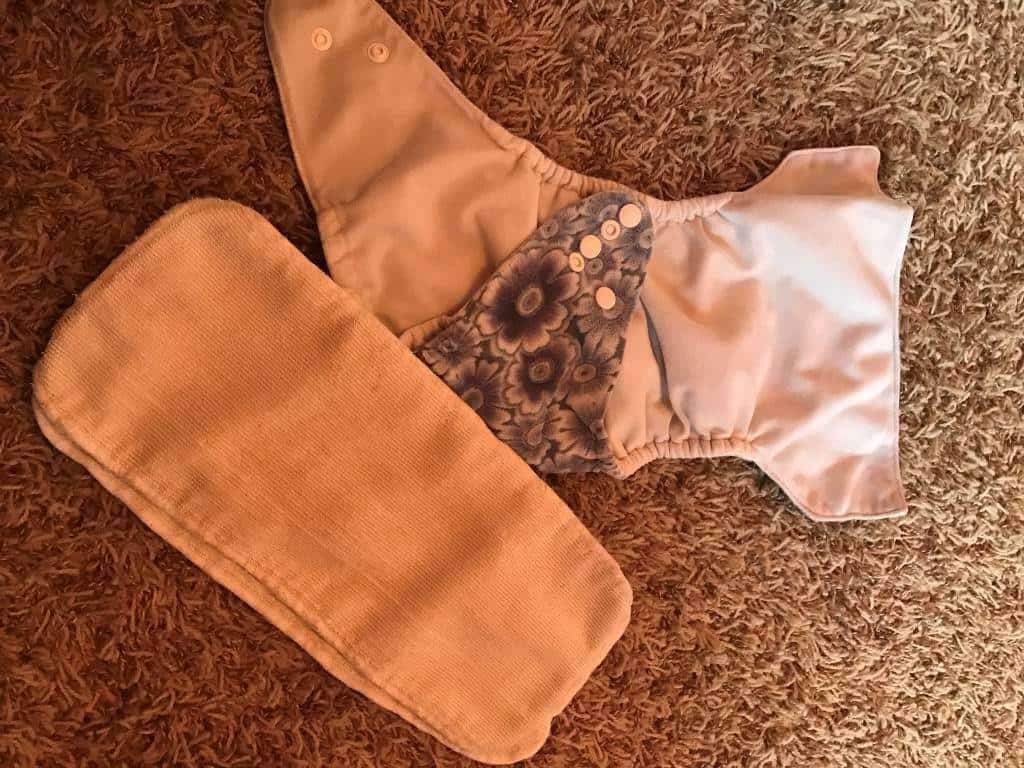
- Put diaper on baby and adjust snaps to size
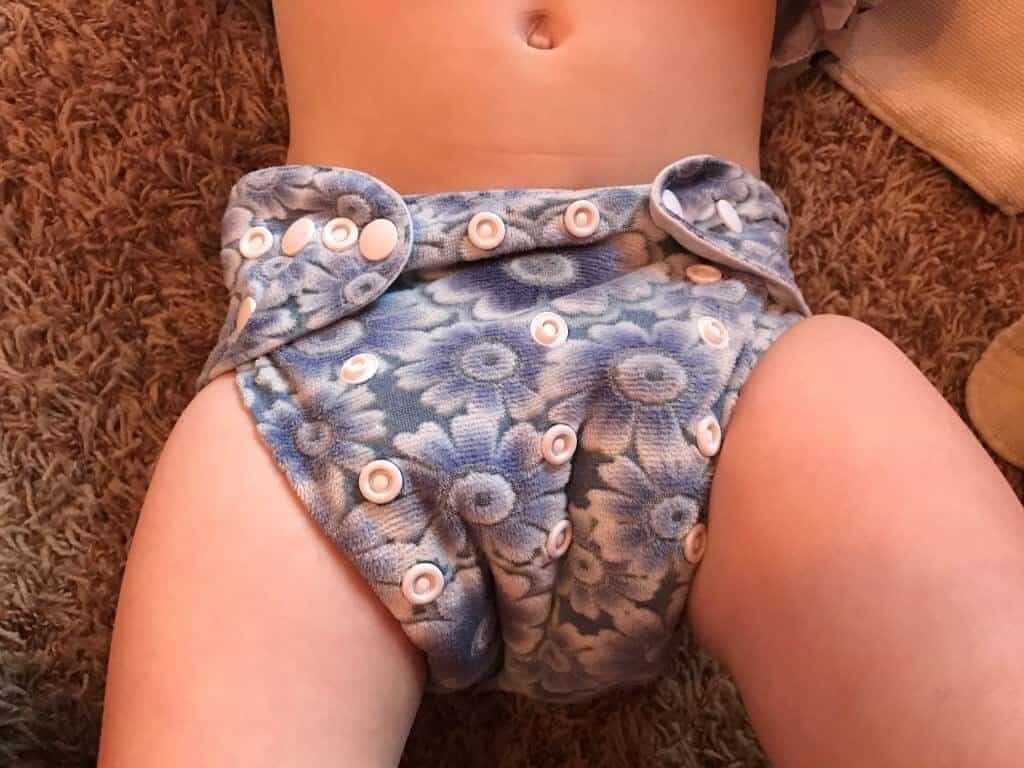
toddler example 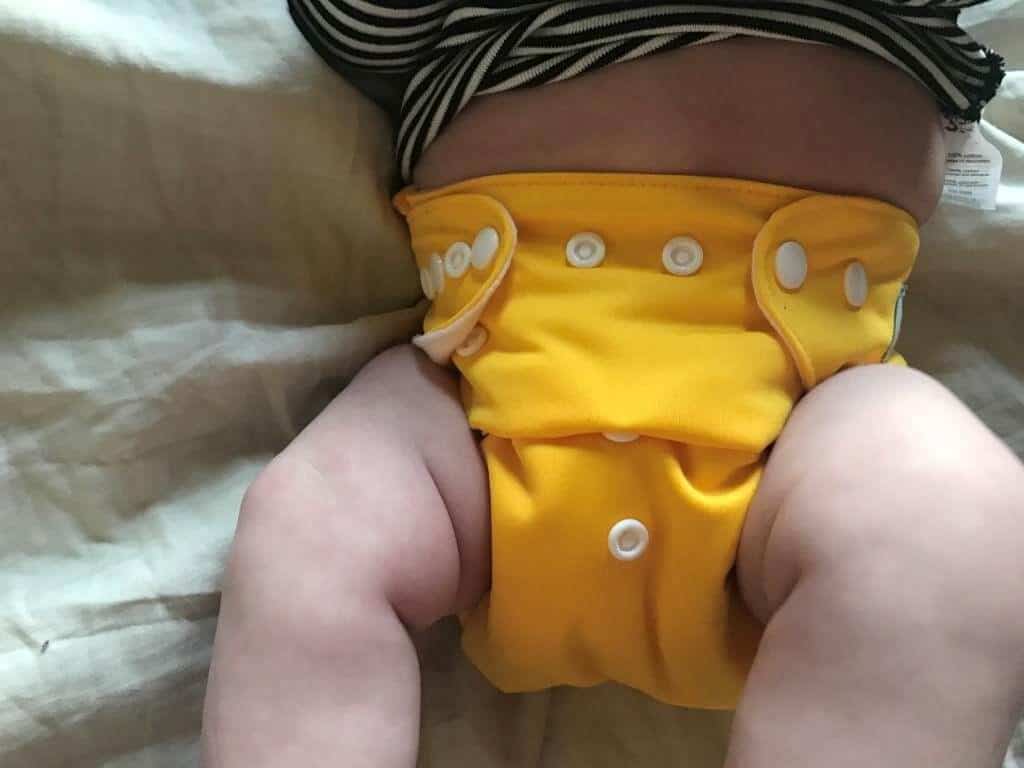
infant example
Training diapers
Now my toddler is starting on potty training and I have started to transition her to cloth training underwear. I’ll keep you posted as to how this goes!
Feel free to post any questions or comments below. Thanks for reading and please share with anyone that might be interested! 🙂
Carrie Spoonemore, co-founder of “From Seed to Spoon,” stands as a beacon of inspiration for gardeners and health enthusiasts alike. Her journey alongside her husband, Dale Spoonemore, in creating a platform that demystifies gardening and promotes a healthier lifestyle, has made a significant impact on individuals around the globe. Through the “From Seed to Spoon” app, Carrie has dedicated herself to empowering people to take control of their health and environment by growing their own food.
With a profound belief in the power of gardening to improve mental and physical health, Carrie’s contributions to the Seed to Spoon blog reflect her holistic approach to wellness. Her articles often focus on the nutritional benefits of homegrown fruits and vegetables, organic gardening practices, and the mental health benefits of spending time in nature. Carrie’s expertise in health science shines through in her detailed discussions on how specific plants can contribute to a balanced diet and overall well-being.
Carrie’s passion for gardening is deeply intertwined with her commitment to family and community wellness. She frequently shares personal stories of how gardening has brought her family closer together, offering practical tips for involving children in gardening activities and making it a fun, educational experience. Her writing encourages families to explore gardening as a means of spending quality time together while learning about nature and sustainability.
In addition to gardening advice, Carrie’s contributions to the blog include insights into the use of technology to enhance the gardening experience. She has played a crucial role in designing the “From Seed to Spoon” app to be user-friendly, ensuring that users of all ages and backgrounds can navigate the complexities of gardening with ease. Her vision for the app is not just as a gardening tool but as a vehicle for change, inspiring individuals to adopt a more sustainable lifestyle by growing their own food.
Carrie Spoonemore’s presence on the blog is marked by her compassionate approach to teaching and her unwavering belief in the transformative power of gardening. Her work continues to inspire a community of gardeners to pursue a healthier, more sustainable way of living, proving that with the right tools and knowledge, anyone can become a gardener and advocate for their health and the planet.


One thought on “A brief overview of why and how we use cloth diapers (Save $$$, protect your baby’s skin, go green!)”
When I first broached the idea of using cloth diapers with my daughter, I encountered skepticism from many. Concerns about the hassle of washing them and the challenges of using pins were frequently raised. Despite my initial hesitation, I eventually decided to give cloth diapers a try when my daughter was two months old, spurred on by the frustration of constantly buying diaper rash cream. However, I faced a new obstacle: I had no clue where to begin or how to navigate the world of cloth diapering. Despite the plethora of online resources, none seemed to offer straightforward guidance. Determined to share my journey and help others, I embarked on creating a brief guide detailing why and how we use cloth diapers.